Showing posts with label Holidays. Show all posts

Wednesday, December 11, 2013

Cranberry White Chocolate Cookies

It's that time of year...where I take cookies everywhere I go.  To Bible study.  To my daughter's school.  To multiple cookie exchanges.  To my children...because they want to "bake something fun."  I've taught them well.


But I get bored with the same 'ol, same 'ol cookies.  So I made up a new one.  White chocolate cranberry cookies!


Of course.  The tart, red Craisins are so good with the sweetness from the white chocolate.


These were great and extremely easy. Beat the butter and sugar, add the eggs and vanilla, dump in the remaining ingredients and mix until just combined (if you overmix your dough, your cookies will taste like cake instead of soft, fluffy cookies) and scoop on a baking sheet.

I always line my baking sheet with parchment paper so I don't have to scrub my baking sheets.  It makes cookie-baking less annoying.


Pillowy, tender and soft on the inside, a little crunch on the outside...chewy Craisins and melty white chocolate chips.  You really should make these soon.  Your kids will love them, I promise.


Cranberry White Chocolate Cookies
Adapted from my White Chocolate-Macadamia Nut Cookies

2 sticks butter, softened
1 1/2 cups sugar
1 cup brown sugar
2 tsp vanilla extract
2 eggs
3 cups flour
1/2 tsp baking soda
3/4 tsp salt
12 oz. bag (about 2 cups) white chocolate chips
1 1/2 cups dried cranberries (I used Craisins)

Beat together the butter and sugars until combined and fluffy.  Add the vanilla and eggs and mix until combined.  Add the remaining ingredients and mix until just combined.  Don't overmix at this point.  Drop on a baking sheet and bake in a 350 degree oven for 8-10 minutes, until just done.  They will look a little underbaked when you take them out but will set up as they cool.

Saturday, December 7, 2013

Turkey, Swiss & Cranberry Panini

You've just got to make this sandwich.  I promise you won't be disappointed.


And if you are, don't blame me.  It was all Pioneer Woman's idea to begin with.

In theory, this is the perfect sandwich for leftover turkey and cranberry sauce.


Which therein lies the problem.  I did not roast a turkey this year, as I never roast a turkey for Thanksgiving. Fortunately, I'm still in the stage of my life where I go to other people's houses for Thanksgiving dinner.  Like my aunt & uncle's.  Like my in-laws.


By default, I have no Thanksgiving leftovers.  But that's okay!  Because I went to the deli and got some sliced turkey and Swiss cheese and then I made my own cranberry sauce.  Only for this sandwich.

It's so worth it.


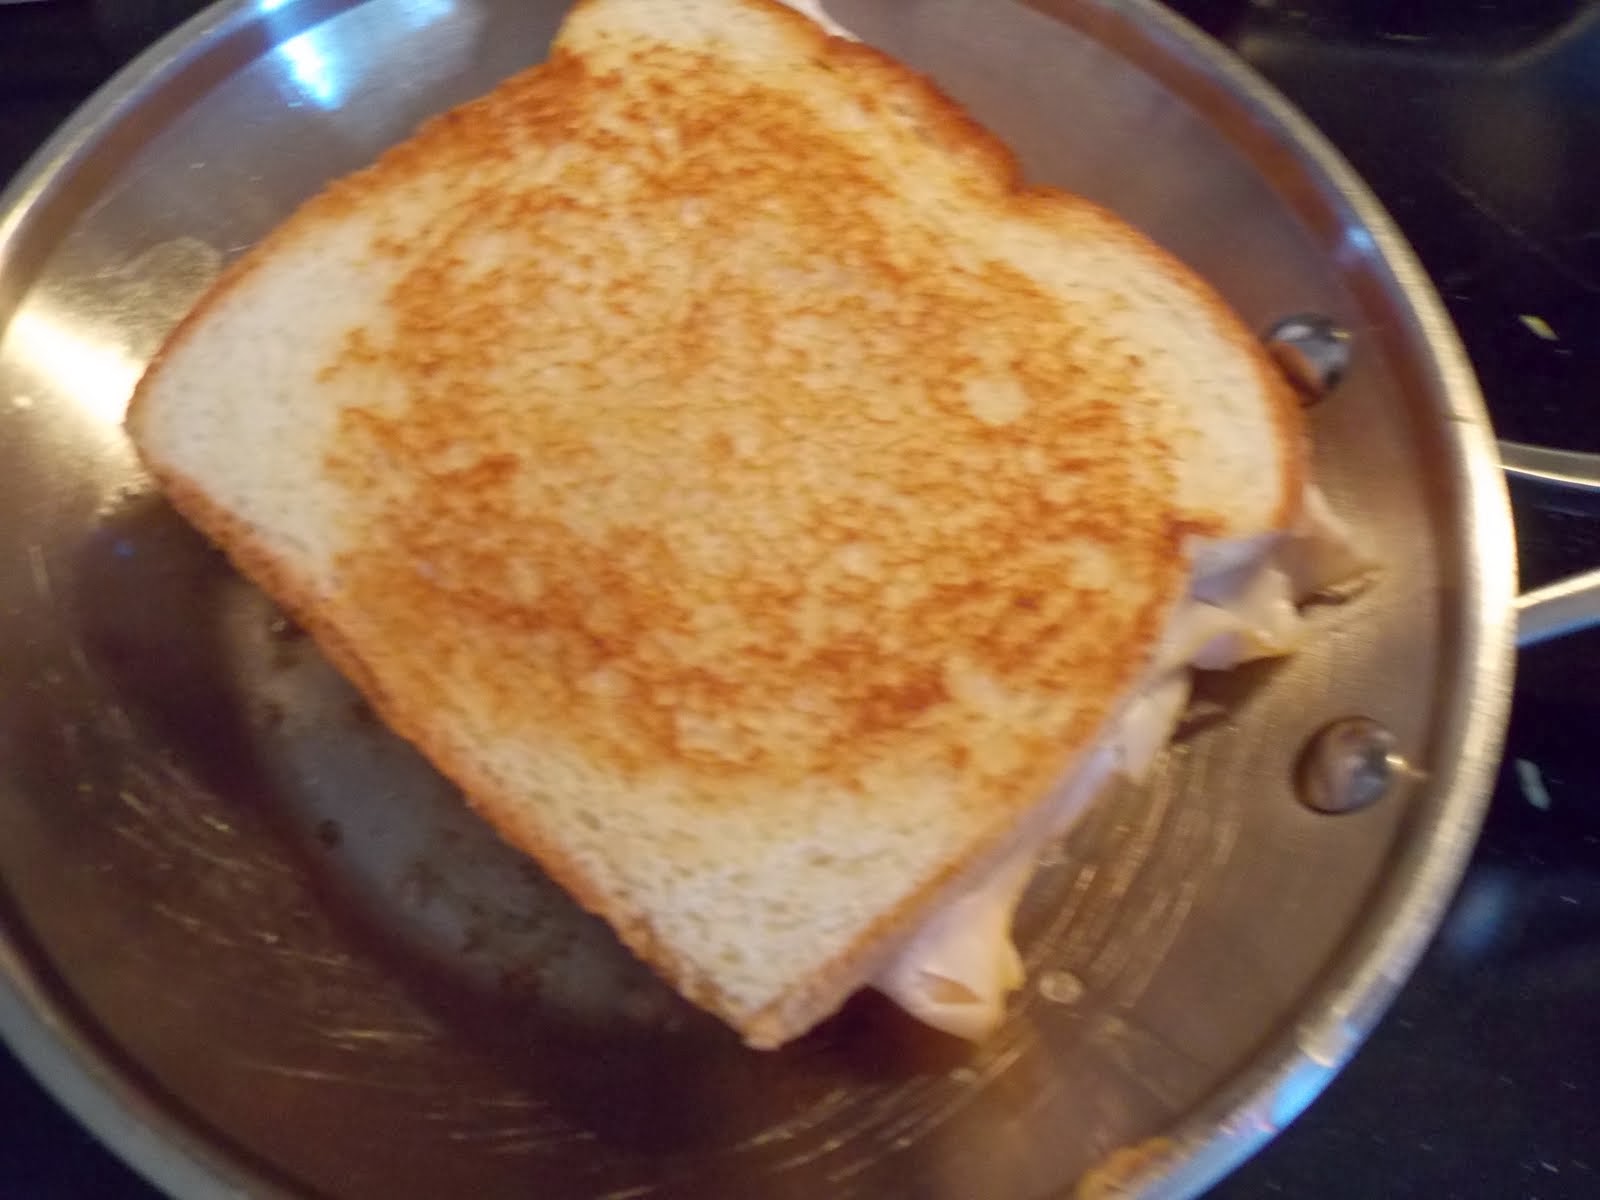
You can use a panini press or you can just toast the sandwich in a skillet like a grilled cheese.  I actually own a panini press but was too lazy to get it out.   Maybe I was tired from not cooking Thanksgiving dinner?  Not sure about my excuse on that one.


Just layer together butter (essential), bread, Dijon mustard (don't make the sandwich without Dijon...you'll totally regret it for the rest of your life), Swiss cheese, turkey, cranberry sauce and more Swiss.  Don't skimp on the Swiss or the mustard.  But don't overdo the cranberry sauce or you'll have a sliding mess of a sandwich.


Wow.  That was a lot of rules.  It really is an easy sandwich.  And absolutely delicious.  Worth making even if you have no Thanksgiving leftovers.  Worth making for the homemade cranberry sauce, actually.


I think I'm done now.

Turkey, Swiss & Cranberry Panini
Adapted from Pioneer Woman

Butter
2 slices bread (something good...this is not the time for squishy white bread...save that for PB&J)
Dijon mustard
2 nice slices of Swiss cheese
2-3 slices turkey
Cranberry sauce

Butter the bread on one side.  Smear Dijon on the other side.  Lay the bread, butter-side down, in a skillet (or in a panini press).  Layer on the Swiss, turkey, cranberry sauce, Swiss.  Smear Dijon mustard on the other piece of bread and place butter-side up.  Cook for about 5 minutes, medium-low heat, on each side.  You want the cheese to be melty, so you may need to cover it while it cooks to trap the heat and melt the cheese.

Serve immediately.  Then leave a comment that you loved it.

Monday, December 2, 2013

Cranberry Sauce

I almost forgot where my blog was.  It's been awhile, y'all.  Hope you had a great Thanksgiving.  I'm sad it's over!  One of my favorite days of the year; definitely one of my favorite meals of the year!


Growing up, I thought cranberry sauce came out of a can.  You know the round tube of congealed cranberry sauce with the can ridges down the side?

It weirded me out.  It still does, actually.


But!  Last year, I saw Jamie Deen make a homemade cranberry sauce.  I thought it looked really good. Cranberries, orange juice, sugar and cinnamon?  I mean, how could that be bad?

So I made it. And I LOVED it.  So very delicious.  Very simple.  But I never wrote about it...probably because I had no confidence that it would be edible.


But here we are, a year later...and I just made it.  After Thanksgiving.  I know.  My timetable is a little skewed this year.


It's just as wonderful as I remembered!  Maybe even better.

And I can't wait to share this panini recipe with you...beyond delicious.  This is my lunch for the next week.


Here's the recipe.  I didn't change a thing, which may be the first time in history I haven't made some change to a recipe.  There's no room for improvement here.

Cranberry Sauce
From Bobby & Jamie Deen

12 oz. bag fresh cranberries
1/2 cup water
1/2 cup orange juice (100% juice)
2/3 cup sugar
1/4 tsp cinnamon
Pinch of salt

Place all ingredients in a medium saucepan.  Bring to a boil; reduce to a simmer and cook 15 minutes.  Chill completely before serving.

Wednesday, January 23, 2013

Chocolate-Dipped Peanut Butter Pretzels

I'm not sure what's wrong with me.


I mean, I made these a month ago (that was before Christmas.  Even though Christmas feels like it was at  least three months ago.), and I'm just now sharing them with you.


That's just wrong.  I made them for a party, so I didn't get to eat as many as I wanted to (i.e.: the whole batch), so I turned around and made them again.  Immediately.  Like, as soon as I got home.


It tastes like you scraped the peanut butter out of a Reese's cup, smashed it between two pretzels and dipped it in chocolate.


Yes please.


These little treats are representative of my life.  Imperfect and a little messy, but sweet and good.


So here were are in January.  And everyone and their brother decided to "go healthy" this year.  Boring.  Whatever. You see, I'm always healthy, as my recipes make clear.


I'm able to justify most things.  Especially things involving sweet and salt.  And peanut butter and pretzels.  And virtually anything involving chocolate.

Life's too short to skip dessert.

Chocolate-Dipped Peanut Butter Pretzels
You'll end up with roughly 50 sandwiches

1 cup peanut butter
1 1/2 T butter, at room temperature
3/4 cup powdered sugar
3/4 cup packed brown sugar
Square pretzels (I used Snyder's brand)
2 cups semi-sweet chocolate chips
1/2 bar paraffin wax

Mix together the peanut butter, butter and both sugars until well combined.  Make a ball of about 1 1/2 tsp peanut butter mixture and smash it gently between two pretzels.  Place on a sheet tray and refrigerate for about an hour.  Meanwhile, melt together the chocolate and the paraffin wax in a double boiler (just a heat-proof bowl over a pot of simmering water).  Dip half the pretzel sandwich into the chocolate and place it on parchment paper to cool.  Store in the refrigerator.

Saturday, January 5, 2013

Garlic Cheese Grits

As I write this, I'm staring at Baby Bear on the monitor.  I realize that this defeats the purpose of me having a video monitor, as I should be productive while he sleeps.  Instead, I sit here and watch him sleep.  And I think to myself that, someday, he'll be a man.  Weird.  In a good way.

Merry Christmas.  Again.
So anyway, this recipe has nothing to do with my baby boy or a video monitor.  Or the fact that someday my children will actually grow up and become adults.  Or the fact that I used to roll my eyes at mothers that were sentimental about their children growing up...and now I'm one of those mothers.  I'm okay with this, as I've grown quite adept at eating my own words.

Whisk the grits into the boiling water and stock...and keep on whisking.
But this recipe does have everything to do with the fact that Kraft used to make this garlic cheese roll whose sole purpose in life was to make amazingly wonderful cheese grits.  Please tell me you know the rolls - processed cheese, garlic flavoring, wrapped up in a little round roll.  It was sort of gross if you thought too much about it, but it made the most perfect garlic cheese grits.

Whisk occasionally as they cook...they're starting to get creamy!
Since Kraft stopped making the roll, I have floundered in my attempts to reproduce the creamy, garlicky, perfect results.  Until now.

Add the butter...
These grits are amazingly delicious.  They are garlicky (this is very important), creamy (do I even need to mention the importance of creamy?), and they set up like a baked grits casserole should.  Although they do use actual, real cheese, they're creamy and oh so good.

And the milk...
I made these for one of our family Christmases, and it's now my go-to garlic cheese grits recipe.

And the cheese.
Oh, and at this point in the cooking process my camera broke.  So I don't have a picture of the actual casserole or the baked grits, but trust me they looked exactly like cheese grits should look and they tasted awesome.

Garlic Cheese Grits
3 cups water
3 cups chicken stock
1 tsp salt
1/2 tsp pepper
1 tsp garlic powder
2 cups grits (regular or quick cook but not instant)
1 lb extra-sharp cheddar cheese, cubed
1 cup whole milk (or half-and-half...or heavy cream)
4 eggs
1 stick butter

Bring the water and stock to a boil in a large pot.  Add the salt, pepper and garlic powder.  Whisk in the grits and reduce the heat to simmer.  Simmer, stirring frequently, for about 25-30 minutes until thick and creamy.  Even if you use quick cook grits, you want to cook them for this long so that they get really thick and creamy.  Turn off the heat and stir in the cheese, milk, and butter.  Switch to a whisk and beat the eggs in.  Continue to stir until the cheese is melted.

Pour the grits into a greased 9x13 casserole dish.  Bake in a 350 degree oven for about 40-45 minutes until bubbly and set.  Let them cool for about 10 minutes before serving.

Wednesday, November 28, 2012

Broccoli Casserole

I made my mama's broccoli casserole for Thanksgiving.


I really love this and - guess what - it contains Velveeta.


My mom doesn't use Velveeta.  Except for broccoli casserole.


It's so delicious and creamy!


And the broccoli is so fine and creamy and the crackers are crunchy and the texture of this casserole really works for me.


Plus, it's a flavor from my childhood.


It's so good and not just for Thanksgiving.  I make it year-round.

Anytime you need a vegetable casserole with virtually no nutritional value, this is your go-to dish!


It's mine, anyway.

Happy Week-After-Thanksgiving.

Christmas here we come.

Broccoli Casserole

4 ten-ounce packages frozen chopped broccoli
2 sticks butter, divided
16 oz. Velveeta cheese
2 tubes Ritz crackers, crushed

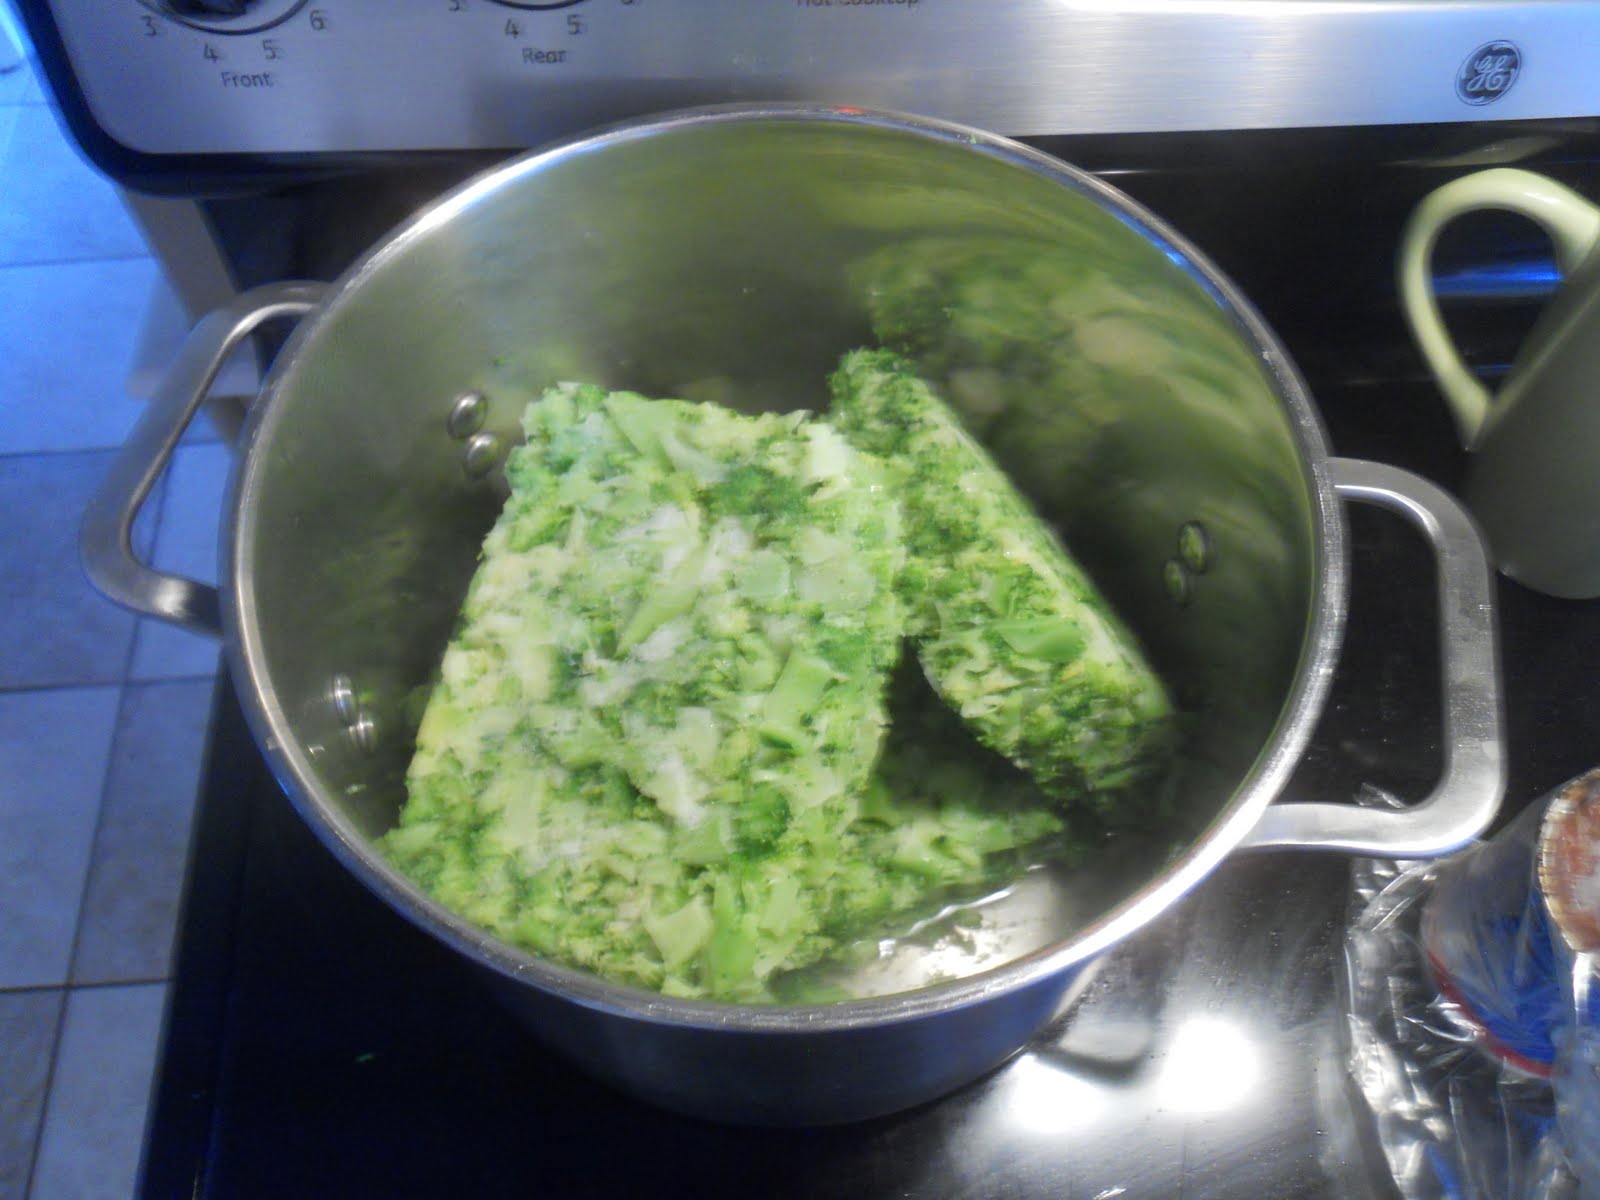
In a large pot, bring about 2 inches of water to a boil.  Add the frozen broccoli and cover.  Cook for about 15-20 minutes until the broccoli is very tender.  Drain well and return broccoli to pot.  Add the Velveeta and one stick of butter.  Stir well until broccoli is fine and cheese and butter are melted.  Pour into a greased 9x13 baking dish.

Melt the other stick of butter and stir in the crushed crackers.  Top the casserole with crackers.  Bake in a 350 degree oven for about 30 minutes, until bubbly.  Let it sit for about 10 minutes before serving.

Monday, November 26, 2012

Green Bean Casserole

Have y'all seen the videos of hoards of people stampeding into K-Mart on Thanksgiving night?


They trample, push, shove, bite and claw their way to the aisles of junk sold at K-Mart.


People are insane.


And low-class.


If you're offended by this because you were among the hoard trampling others to snatch up a $10 trinket that you never knew you needed...well, I'm not sorry.


Just calling it like I see it.

Look on the bright side: we all have low-class habits!  Some are just lower-low-class than others.


Speaking of low-class, my grandmother considered green bean casserole low-class.  She never made it, so my mom never made it, and I think it's gross.  So I've certainly never made it.  Or eaten it.


Come on.  I know you agree with me.  It is gross.

But!  There is an exception, and here it is.


Pioneer Woman inspired me to try it...and try it I did.  It's unlike any other green bean casserole in the world.

There's no condensed soup or canned onion rings in sight.


Just a yummy homemade sauce with cheese and garlic!  And fresh green beans.

It's yummy, and I'm pretty sure that my grandmother would agree that this does not qualify as low-class.

Green Bean Casserole
Adapted from Pioneer Woman

2 pounds green beans, ends trimmed and cut in half
2 T olive oil
3 cloves garlic, minced
1/2 large onion, chopped
8 oz. cremini mushrooms, sliced
4 T butter
4 T flour
2 cups whole milk
1 tsp salt
1 tsp black pepper
Pinch cayenne pepper
1 1/2 cup grated sharp white cheddar cheese
2 oz. jar diced pimentos
1 cup panko breadcrumbs

Start by cooking the green beans.  Bring a large pot of water to a boil, then salt it and toss in the green beans.  Cook the beans for about 10 minutes, or until soft.  (I like green beans that are actually cooked; if you like crunchy beans, just cook them less.)  When the beans are done, place them in a large bowl of ice water to stop the cooking process and to keep them really green.  Drain and set aside while you make the sauce.

Heat the olive oil in a skillet.  Add the garlic, onion and mushrooms and cook over medium heat for about 8-10 minutes.  Add the butter and whisk in the flour.  Cook for a minute.  Whisk in the milk, salt, pepper and cayenne pepper.  Cook over medium heat until the sauce thickens.  Remove from the heat and whisk in the cheese and pimentos  Combine the sauce and the cooked green beans and toss well to coat.  Taste it and see if you need to add some salt - I added about another 1/2 tsp.  Add a little extra milk, if you like a thinner sauce.  I didn't, because I didn't want it to be runny.

Pour into a greased 4-quart baking dish and top with the panko breadcrumbs.  Bake in a 350 degree oven for about 25-30 minutes, until bubbly and golden.

Wednesday, July 4, 2012

American Flag Tart (or Fruit Tart)


Happy 4th, y'all!

I really love the 4th of July.  Probably because I love this country.  It is the best country in the world and I'm proud to be an American.  I love our history, the values on which we were founded, and the people who have literally given their lives in order to further their dream for freedom.  We all benefit from their convictions and sacrifice, whether we recognize it or not.


And in my world, when I love something, I translate it into food.

Last year I made a flag cake.  But this year I wanted something a little different.

So I made a flag tart!

Be kind about my tart.  I had a 4-year-old and a 2-year-old as my assistants.
So I took a roll of sugar cookie dough and pressed it into a tart pan.

Look!  The bottom comes out!  It doesn't take much to make me happy.


And then I filled it with this yummy, creamy pastry filling.  Since the pastry filling is the only piece that's actually cooked, I'll show you how I made it.


Put six egg yolks and some sugar in a mixing bowl.  You'll want to use the paddle attachment for this.


Now beat it for a few minutes, and it will turn light yellow and increase in volume.  Amazing that egg yolks and sugar can turn into this!

I have no idea what happened to this picture.  Oops.
Okay, now you'll need the milk that you heated to just below the boiling point.  Pour in the milk with the mixer on low.  Scrape the bottom of the bowl well to combine.


Pour the mixture back into the pot that you heated the milk in.  Cook it over medium heat for a few minutes, stirring constantly, until it begins to thicken.  As soon as it comes to a slow bubble, remove it from the heat and stir in the butter and vanilla bean paste.


Now pour the pastry cream into a bowl and place a piece of plastic wrap directly on the mixture - this prevents it from forming a skin.  Refrigerate it while you bake the crust.  Resist the urge to dive in with a spoon.


This stuff will rock your world!

When everything is cool, fill the tart with the pastry cream


and use berries to make it look like a flag! (I only had one container of raspberries...I forgot I was making this tart and fed the other one to my girls...so yours will have twice as many berries and be twice as patriotic.)


God bless America!


I had a little bit of pastry cream left over...pour this stuff over berries.


Crust
1 lb. roll refrigerated sugar cookie dough

Pastry Cream
Inspired by Barefoot Contessa


6 egg yolks
3/4 cup sugar
3 T cornstarch
2 cups whole milk, heated
3 T butter
1 tsp vanilla bean paste (or vanilla extract)

Fruit


If you are making a flag cake, you will need:
1/2 cup blueberries
2 6 oz. containers fresh raspberries

If you are making a fruit tart, you'll need three cups of a combination of berries, bananas and/or peaches.

Spray a rectangular tart pan (one with a removable bottom) well with nonstick cooking spray.  Press the cookie dough into the pan.  Bake in a 350 degree oven for about 10 minutes.  You want the dough to be very lightly baked.  Remove and cool to room temp.

For the pastry cream, beat the egg yolks and sugar in the bowl of a mixer fitted with a paddle attachment for about 3 minutes, until the mixture is fluffy, light yellow in color and falls back on itself in a ribbon.  Add the cornstarch and combine.  Pour the hot milk into the mixer slowly.  Beat on low speed until combined, scraping the bottom of the mixing bowl.

Pour the mixture back into the pot and cook it over medium-low heat, stirring constantly until the mixture thickens and coats the back of a wooden spoon.  (This takes about 5-7 minutes.)  If the mixture gets too thick, you may need to use a whisk.  Remove from the heat and stir in the butter and vanilla paste.

Pour the mixture into a bowl and cover it with a piece of plastic wrap directly on the pastry cream (this will keep a skin from forming on top of the cream).  Chill completely.  The pastry cream will thicken as it cools.

When the crust is cool and the pastry cream is chilled, pour the pastry cream into the crust (I had about 1/2 cup of pastry cream left over that wouldn't fit into the tart.  Use it to pour on a bowl of fruit.  Yum.).  Top with the fruit in a flag pattern or decorate with any fruit of your choice.